The citrus season is upon us here in our US winter. If you live in California or Florida, you are blessed with tons of fresh citrus, right? It's the perfect time to stock up on Homemade Orange Marmalade!
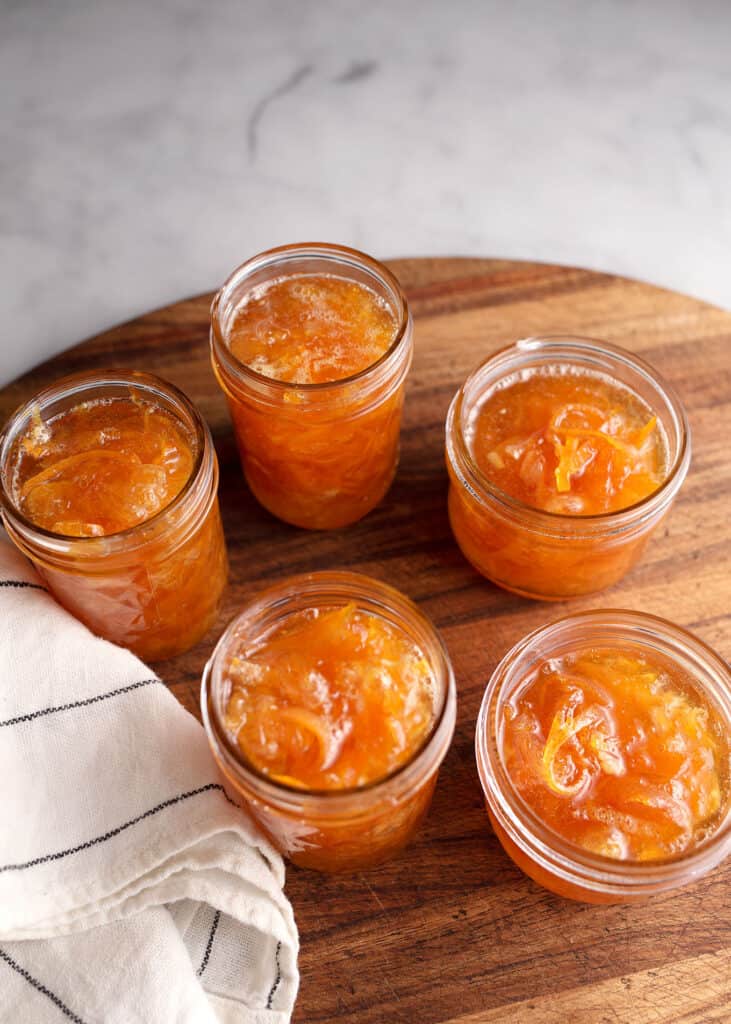
And the bonus of this recipe is that it is not bitter and it doesn't require added pectin.
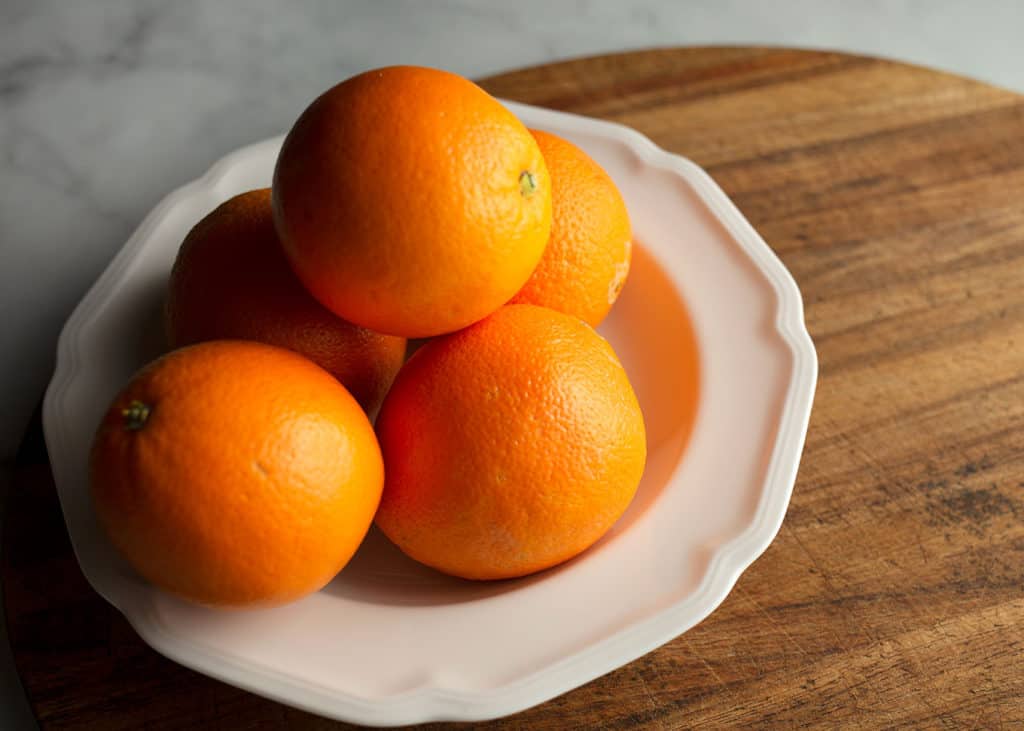
How to prepare the oranges
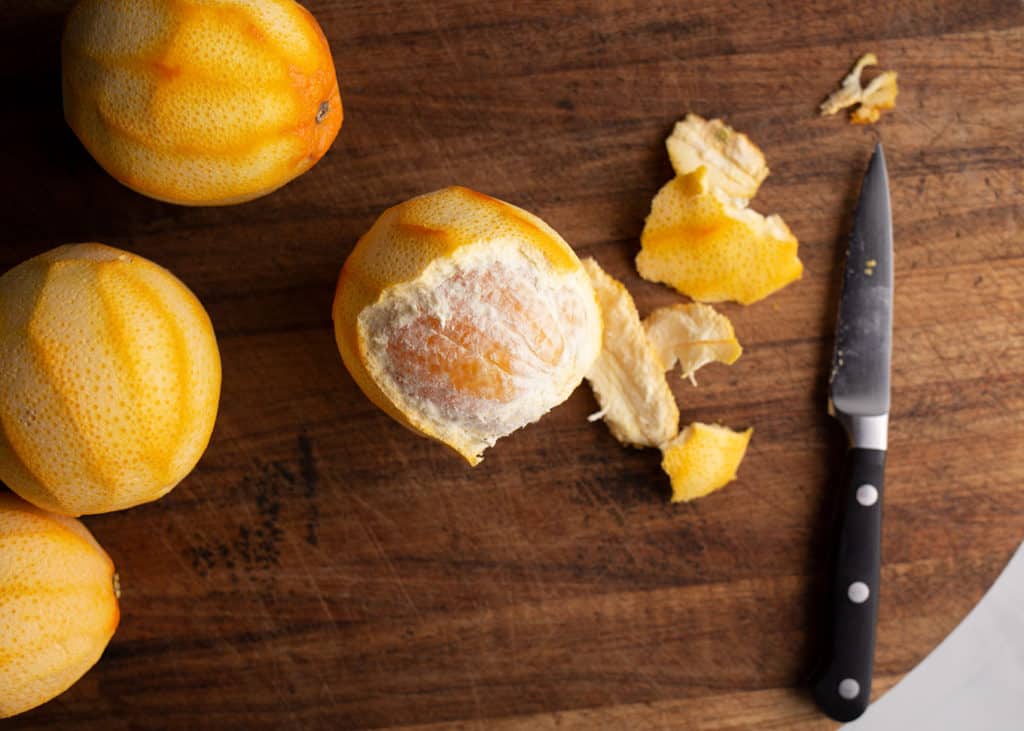
The first step is the carefully remove the skin from the oranges. You want to only remove the skin and leave as much of the pith as possible. The pith is more bitter and less desirable.
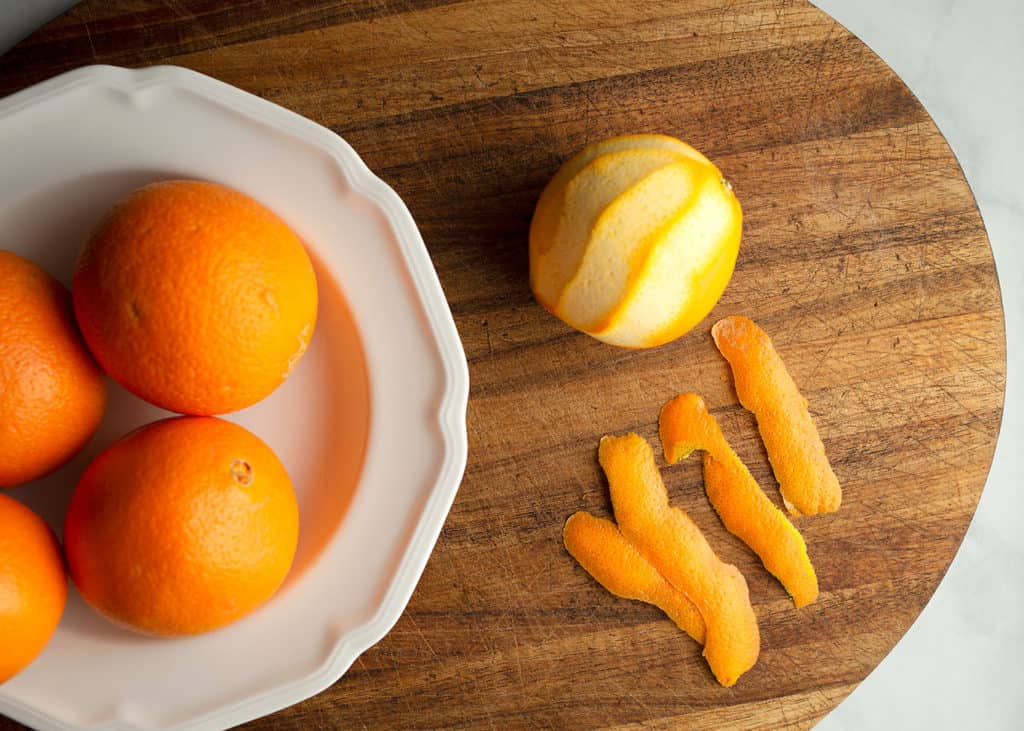
After using the vegetable peeler to remove the peel, slice the peel lengthwise to create a julienned cut ... long, slender pieces of orange peel.
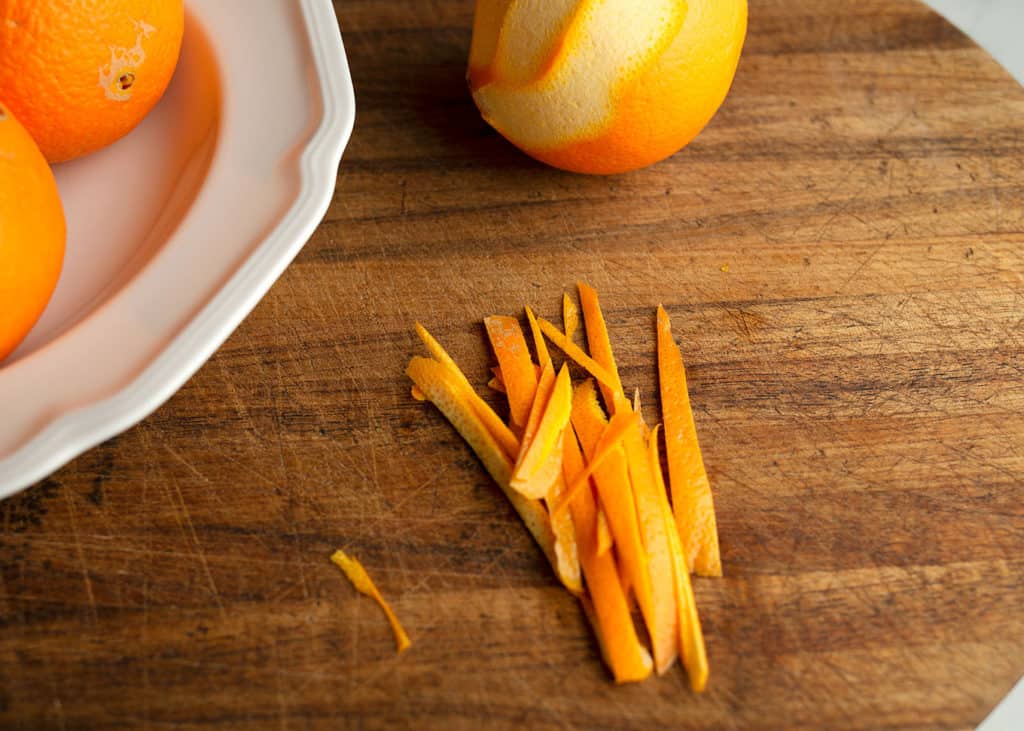
THE biggest tip ... takes the bitterness out of Homemade Orange Marmalade
I never thought I liked orange marmalade because there always seemed to be a bitter note to it. A few years ago, I needed to make candied orange peel ... for what, I don't remember! ... and I remember watching Jacques Pepin give some tips about the process. The biggest tip is to boil the peel twice before starting your candied orange peels or orange marmalade.
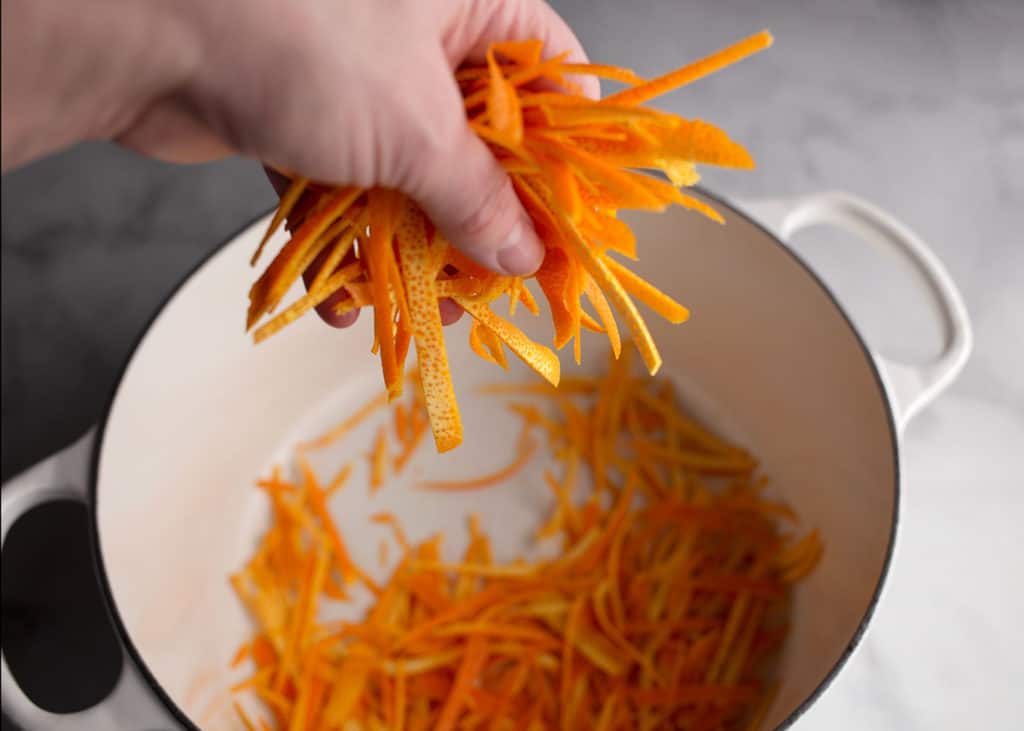
OK ... Moving beyond the peels!
Use a small paring knife and remove as much of the pith from the orange segments as possible. It's just too bitter to include, not to mention that it's just not appetizing.
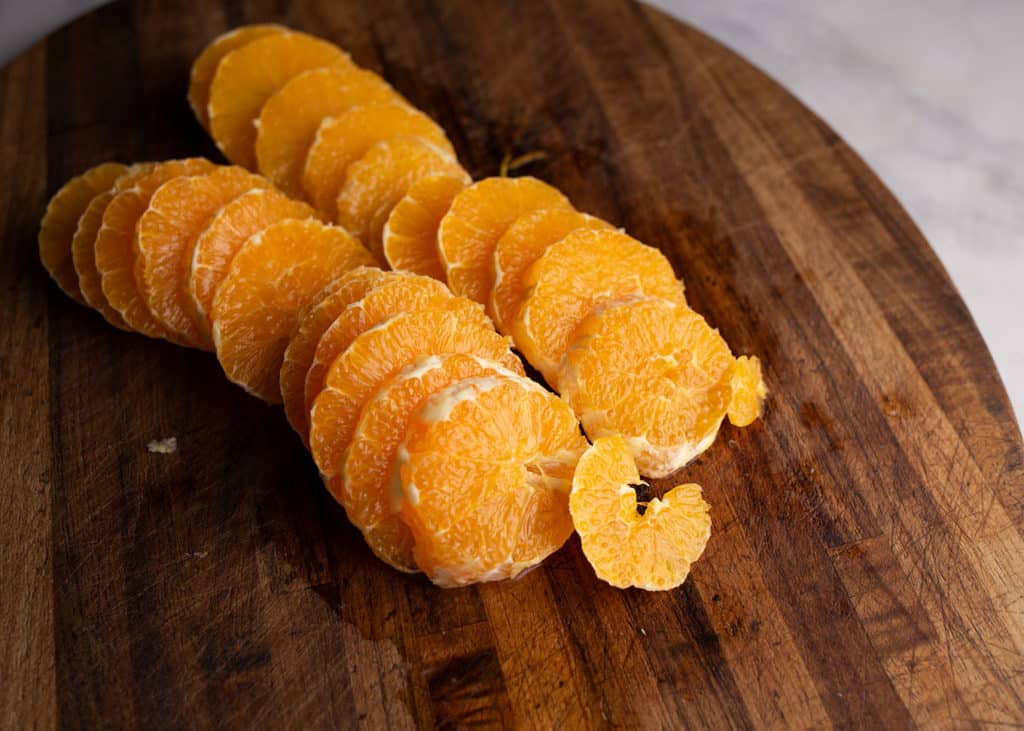
There's no need to supreme the segments because there is a natural pectin in the membranes that will help set the jam. (To supreme the segments means that you cut the orange flesh from in between the membranes.)
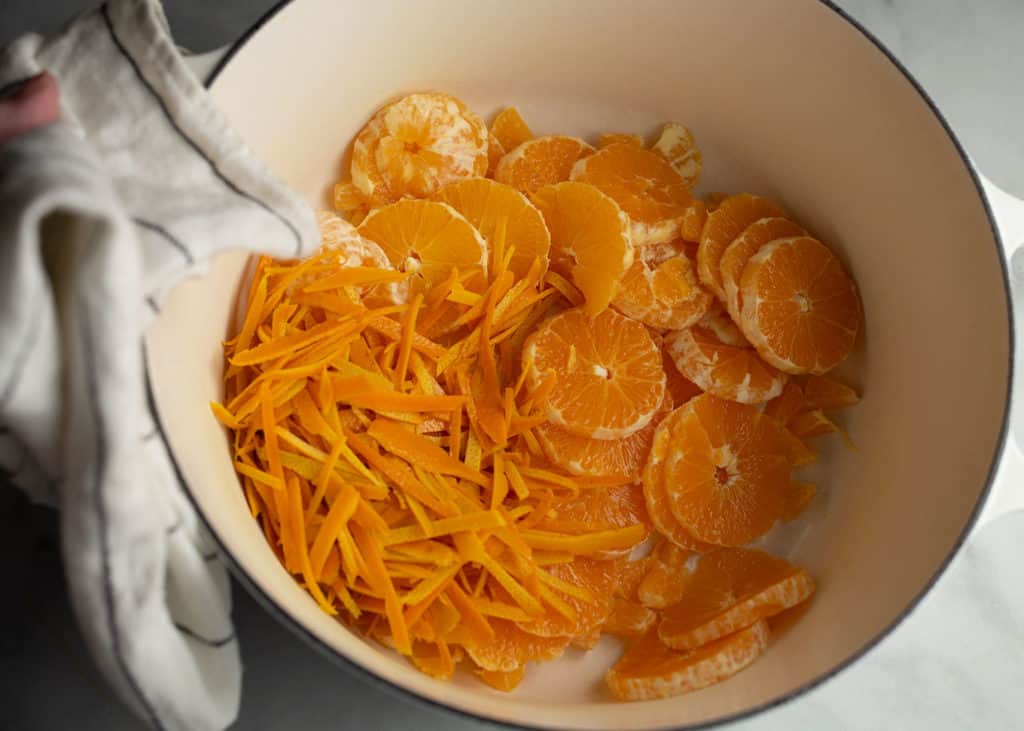
Put the orange slices and julienned orange peels into a large pot. Add the sugar????????
Cook it down for about 40 minutes or until it becomes like jelly.
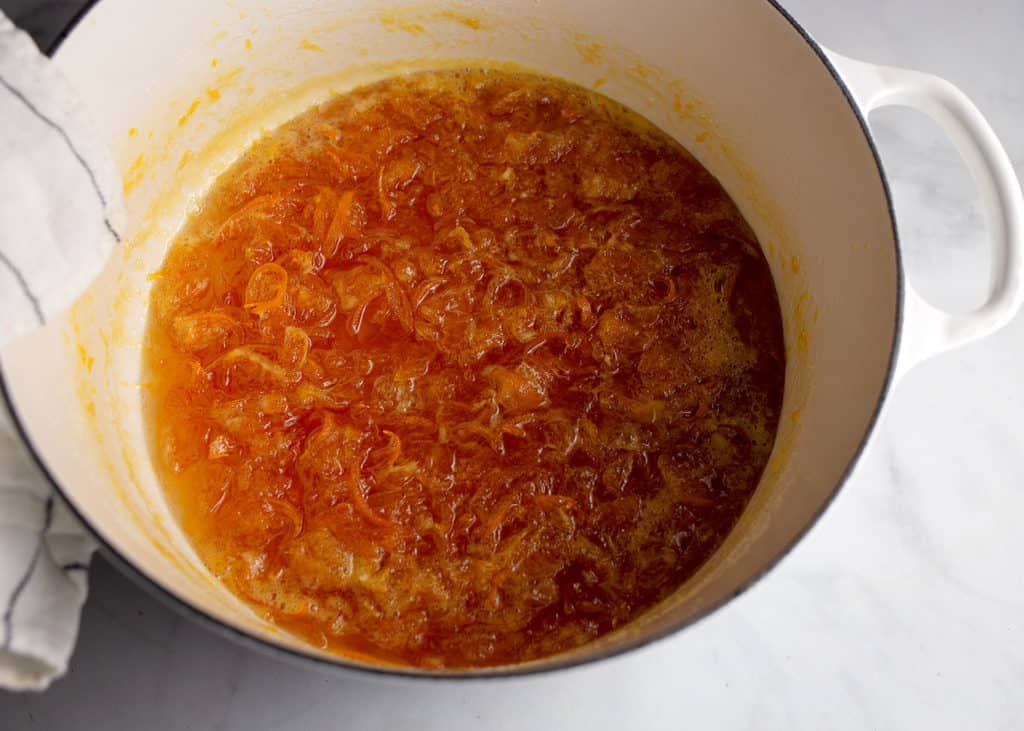
The frozen plate test
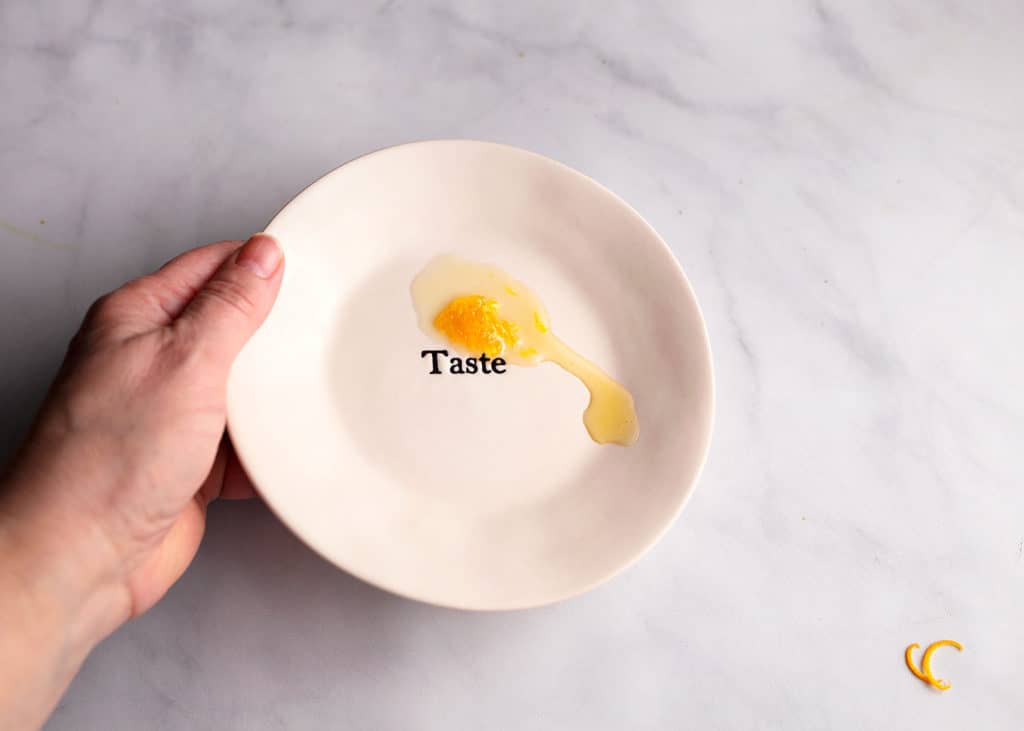
After the marmalade has simmered, you can test to see if it is ready by spooning a bit onto a plate that has been in the freezer. If it runs a bit, then stops, it is done. If it doesn't stop, keep simmering it for about 10 minutes and retest.
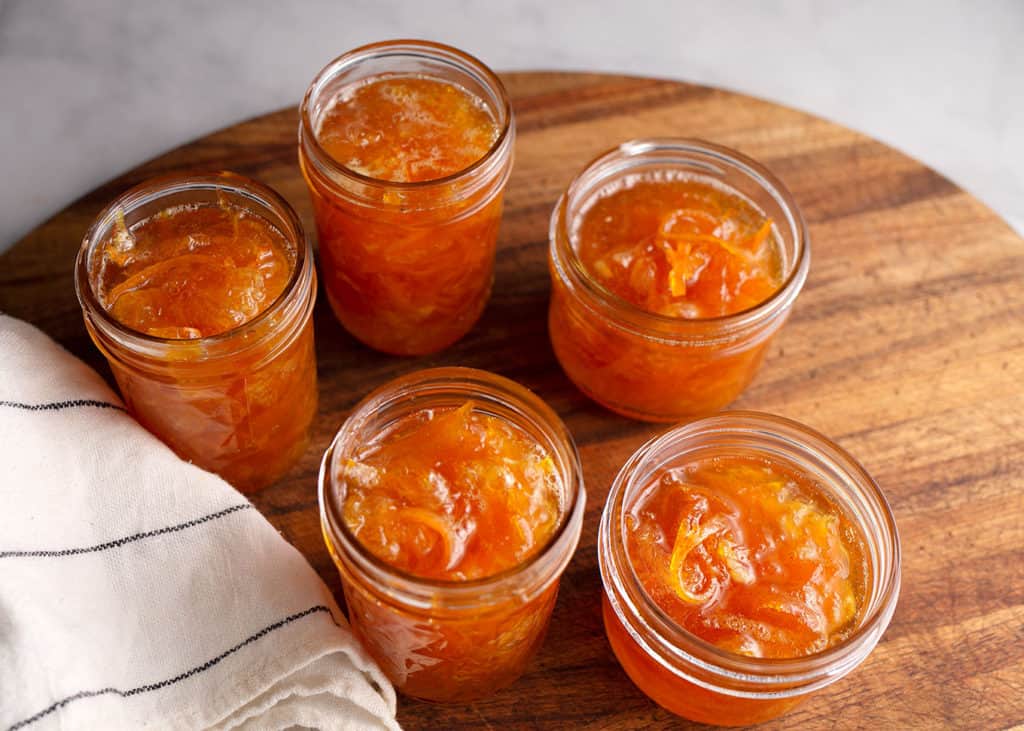
When it's done, use a ladle and a jam funnel to spoon the marmalade into heated jam jars. Wipe the rims of the jars and place the lids and rings on. They should seal as they cool. You'll know they've sealed if you hear the lids popping or if they remain indented when you press them. If they don't seal, store the marmalade in the refrigerator. You'll end up with about five jars of Homemade Orange Marmalade.
How to serve Orange Marmalade
You can pile marmalade on biscuits, scones, or croissants. You can use it in a cake. It's delicious with cream cheese or Brie. You might even use it to make a sauce for meatballs or grilled chicken! It's literally sunshine in a jar! Especially on a gray wintery day, right?
Recipe
Homemade Orange Marmalade
Ingredients
- 4 medium navel oranges about 2 pounds
- 4 cups granulated sugar
- juice of one lemon
- ⅓ cup water
Instructions
- Use a vegetable peeler to remove a thin layer of orange rind from the oranges, then use a sharp knife to cut the orange rinds into thin strips. Cut each strip to be about 2-2½ inches long.
- Remove as much of the pith from the peeled oranges as possible, then slice the oranges. There's no need to remove all the membranes.
- To minimize the bitterness, put the strips of orange rind in a Dutch oven and cover them with water. Bring to a boil and boil them for 10 minutes. Drain the water, cover the strips with water again, and boil again for 10 minutes. Drain the water, leaving the strips of orange rind.
- Add the orange slices, sugar, lemon juice, and water to the Dutch oven. Bring to a boil over high heat. Reduce the heat to medium-low to simmer.
- Simmer the marmalade for 40 minutes stirring it occasionally to keep it from sticking. At the end of 40 minutes, it will look thicker, but it won't be as thick as it will be after it cools. To test whether it is ready or not, spoon a bit onto a plate that has been in the freezer. If it runs a bit, then stops, it is done. If it doesn't stop, keep simmering it for about 10 minutes and retest.
- Using a funnel and ladle, spoon the marmalade into heated jam jars. Wipe the rims of the jars and place the lids and rings on. They should seal as they cool. You'll know they've sealed if you hear the lids popping or if they remain indented when you press them. If they don't seal, store the marmalade in the refrigerator.

Rhonda
Thank you!!
Tammy Circeo
Quite welcome!