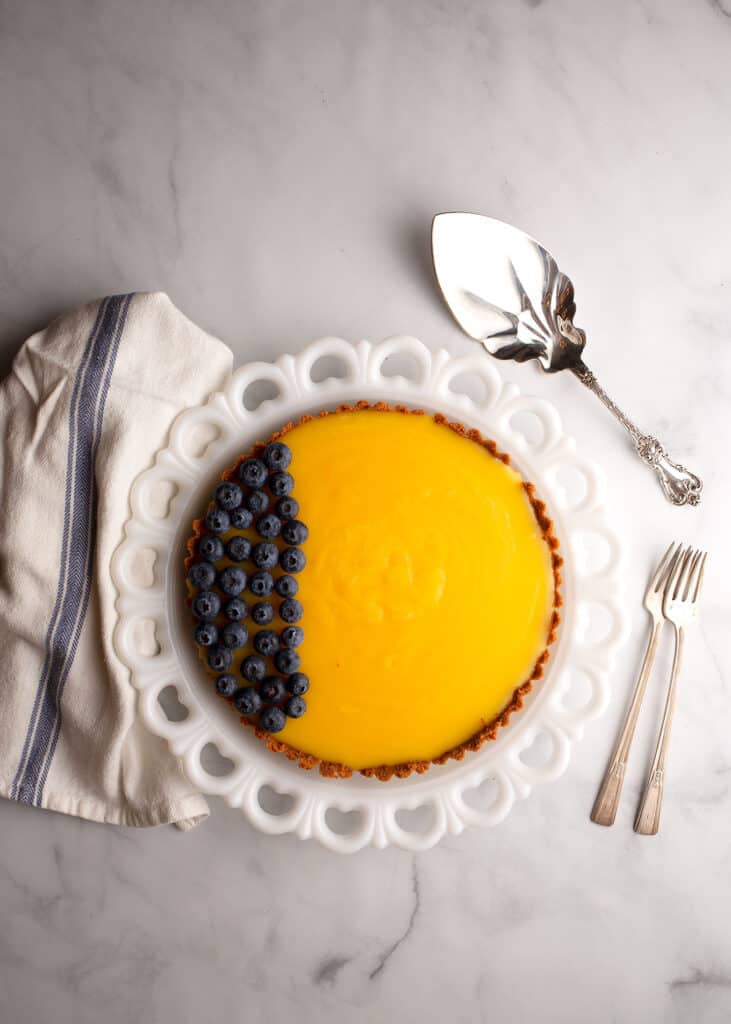
The winter season can sometimes bring on a case of the blues with its short and sometimes gloomy days. Since winter is also citrus season, there's a chance for brightness! Lemon Tart in a Gingersnap Crust can work all of its bright magic on the doldrums.
How to make the gingersnap crust
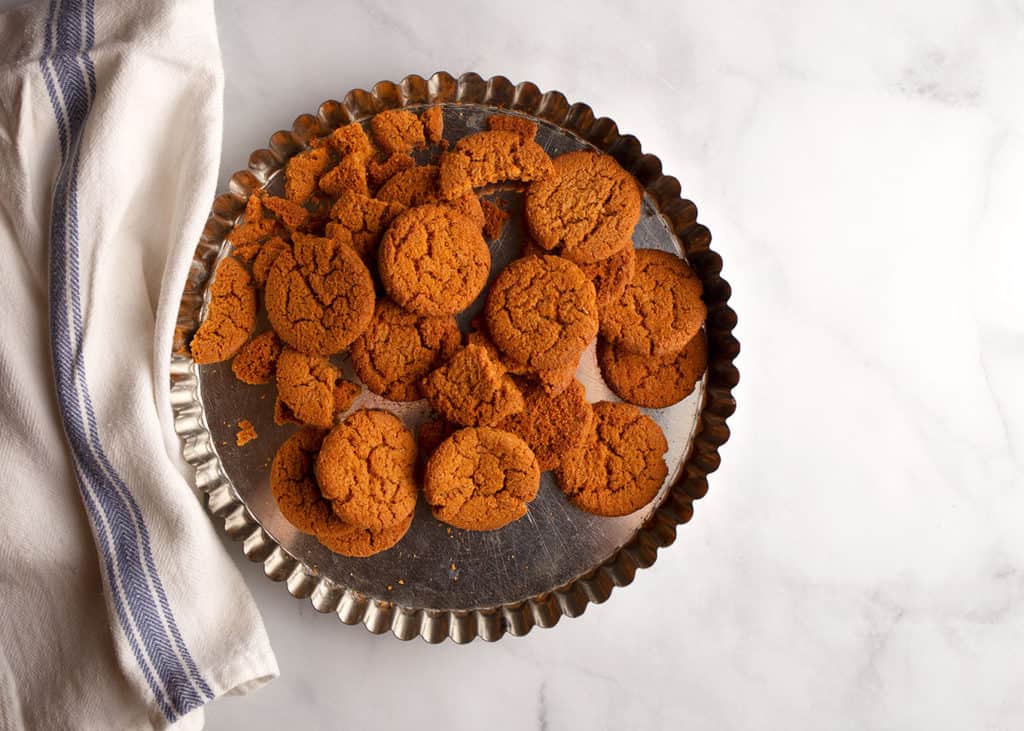
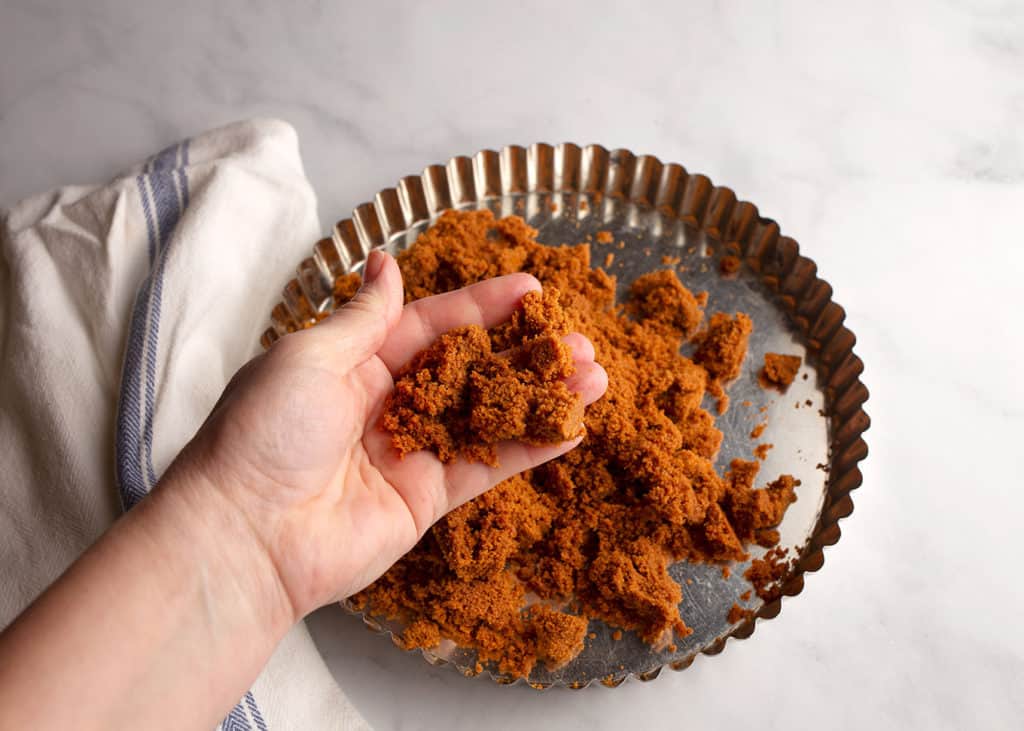
I could've made homemade gingersnaps, but since I eat gluten-free, I haven't yet tested a recipe for those. If you have a recipe you've tried and liked, please leave a comment so I can check it out! I like the gluten-free gingersnaps from Mi-Del. They are super crunchy and the amount of ginger is just right. I put them in the food processor till they are like sand, then pulse in the butter.
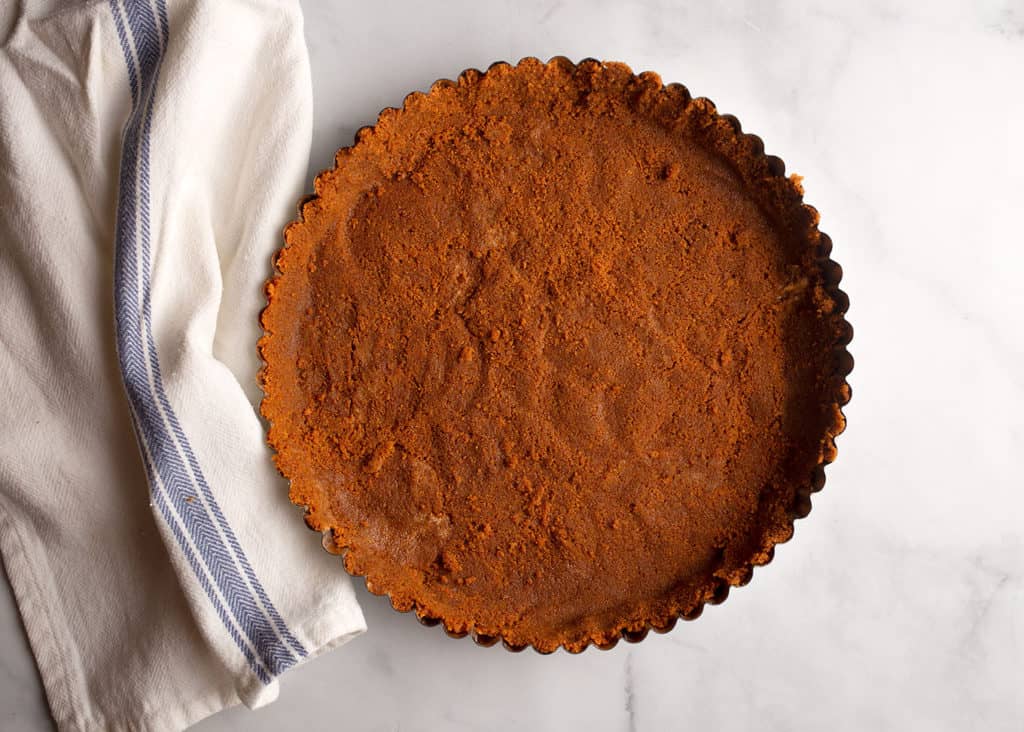
All that's left to do is press it into a tart pan. I used one with a removable bottom, but be sure to put it on a serving platter. If there is any leftover tart, it will leak a bit of juice and it can be messy.
What kind of lemons to use
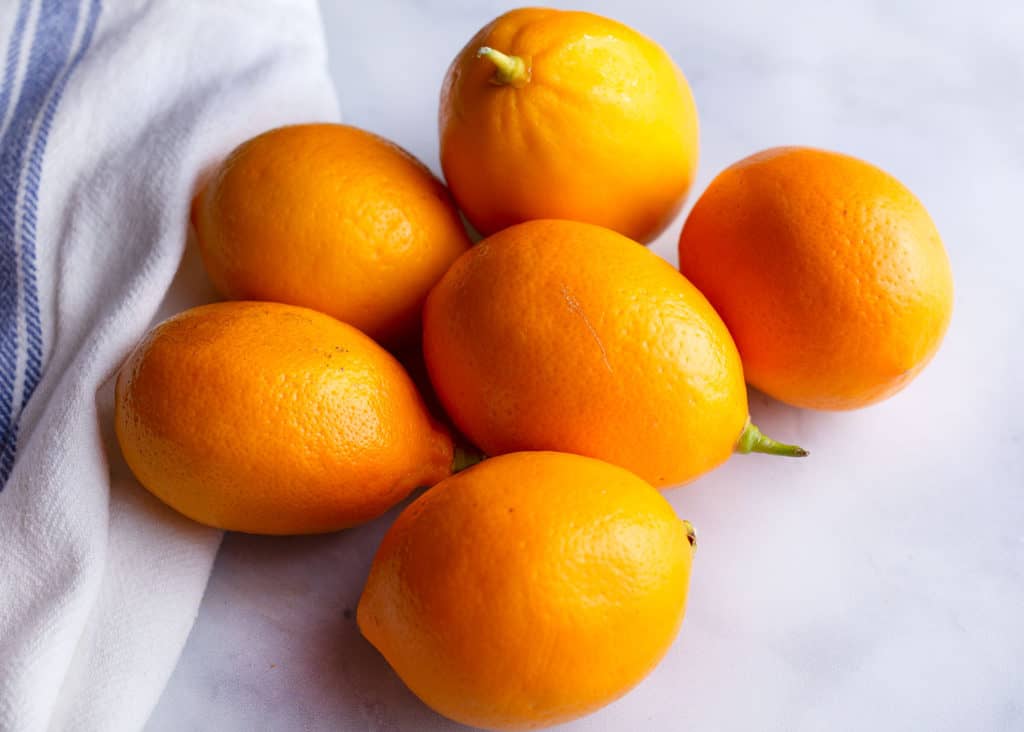
Although Lemon Tart in a Gingersnap crust would be good with regular lemons, I found it superb that I could make it while Meyer lemons were in season. And I think you should, too! The flavor is a mix of lemon and orange ... almost floral even. But if all you can get are regular lemons, it will still be delicious!
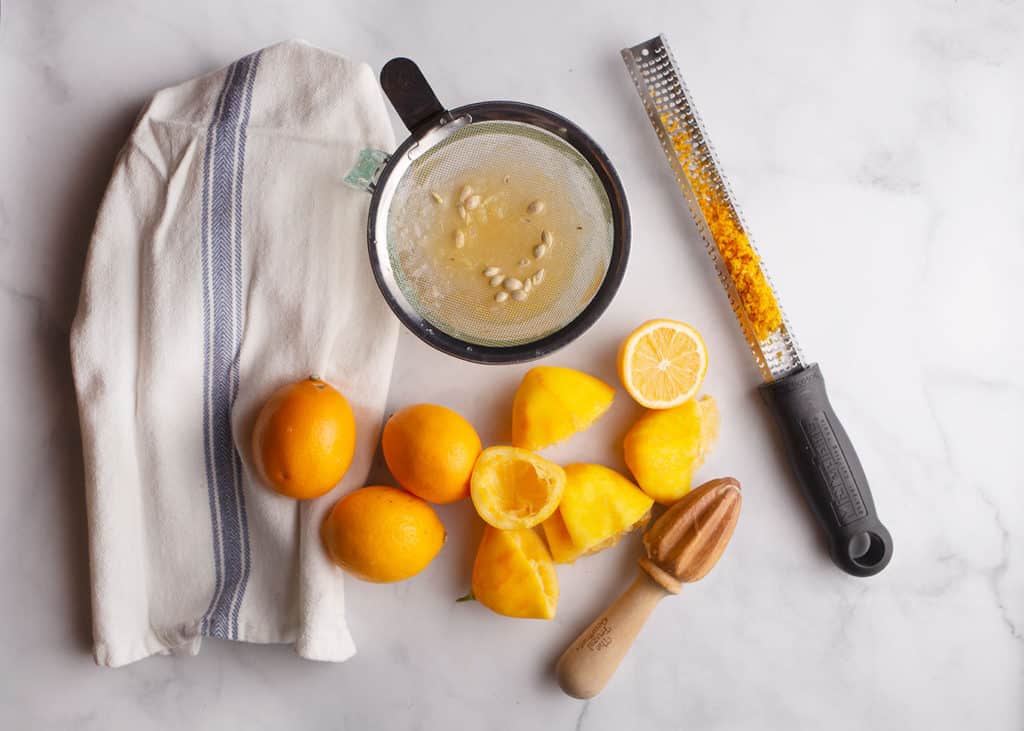
In almost any recipe calling for lemons, I like to also use the zest. I grate it on the microplane, then juice the lemon after. I catch the seeds in a sieve.
Make the filling for Lemon Tart in a Gingersnap Crust
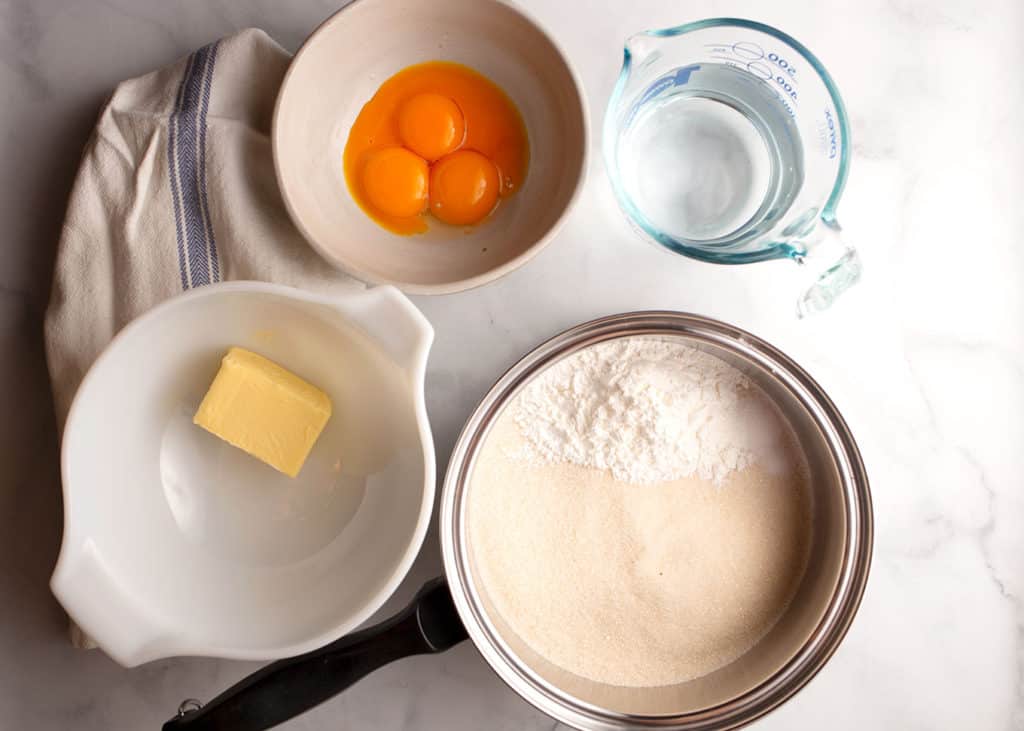
The filling is just a curd-like mixture that is made by mixing corn starch, sugar, and water in a saucepan and whisking the whole time while it thickens up. Once it's thick, gradually pour a bit of it in the whisked egg yolks to temper them and keep them from scrambling. Once they are tempered, you can mix them back in with the sugar mixture and cook it again, whisking all the time, till it gets thick enough. This should take five minutes or less.
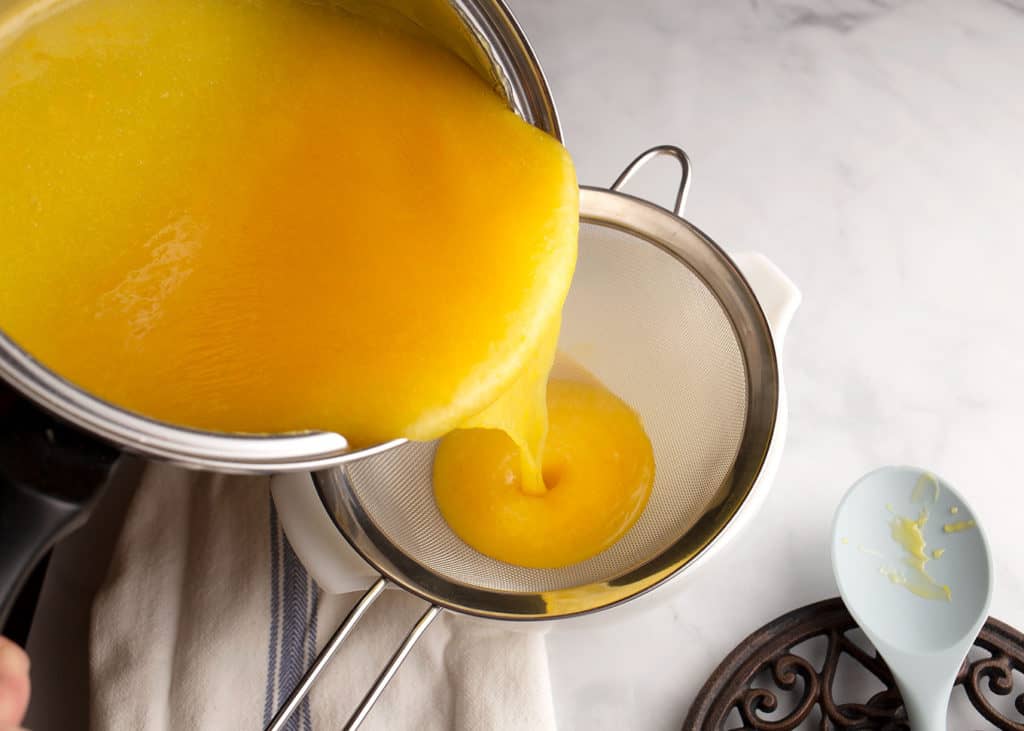
Why do I have to strain the custard?
Pour it through a sieve into a bowl with cut-up butter. This might seem unnecessary, but it will eliminate any lumps or pieces of egg that might have cooked too much.
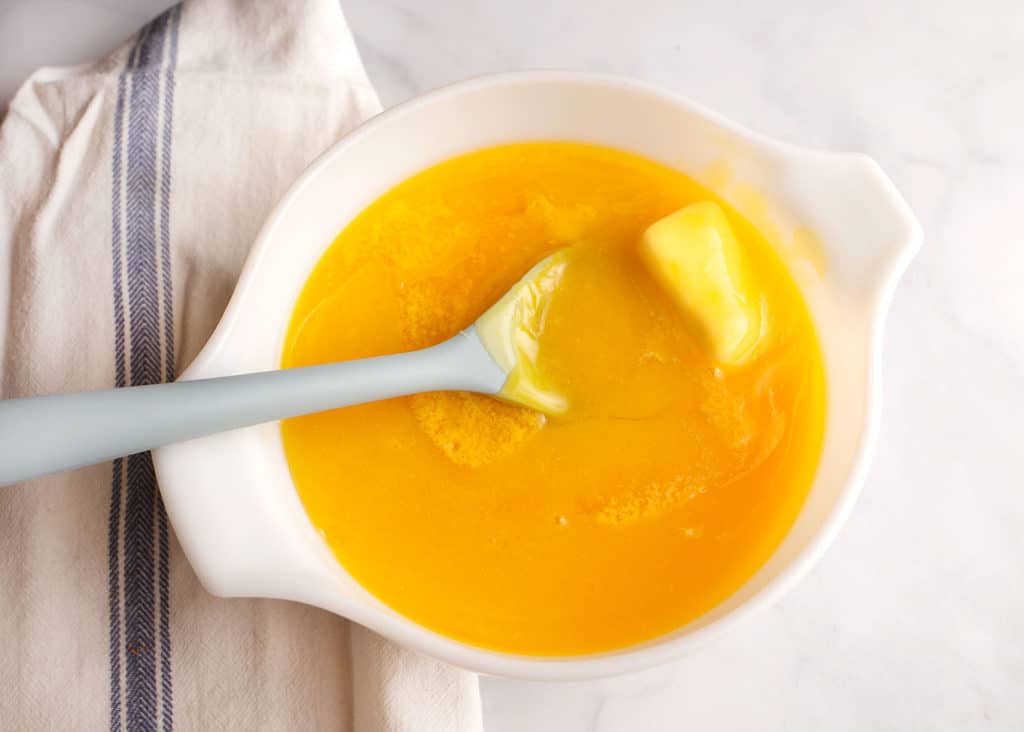
Stir the curd and the butter until the butter is melted and fully incorporated. Pour it immediately into the crust, cover with wrap directly on the surface, and chill till set ... about 8 hours.
How to serve Lemon Tart with a Gingersnap Crust
I think it's best eaten the day it is made, but if you're like me and get caught up watching a game on TV and forget to serve it, it tastes just fine a couple of days later. In fact, I might have hidden in the pantry to share the last piece with my daughter so her Littles wouldn't find us and beg for bites!
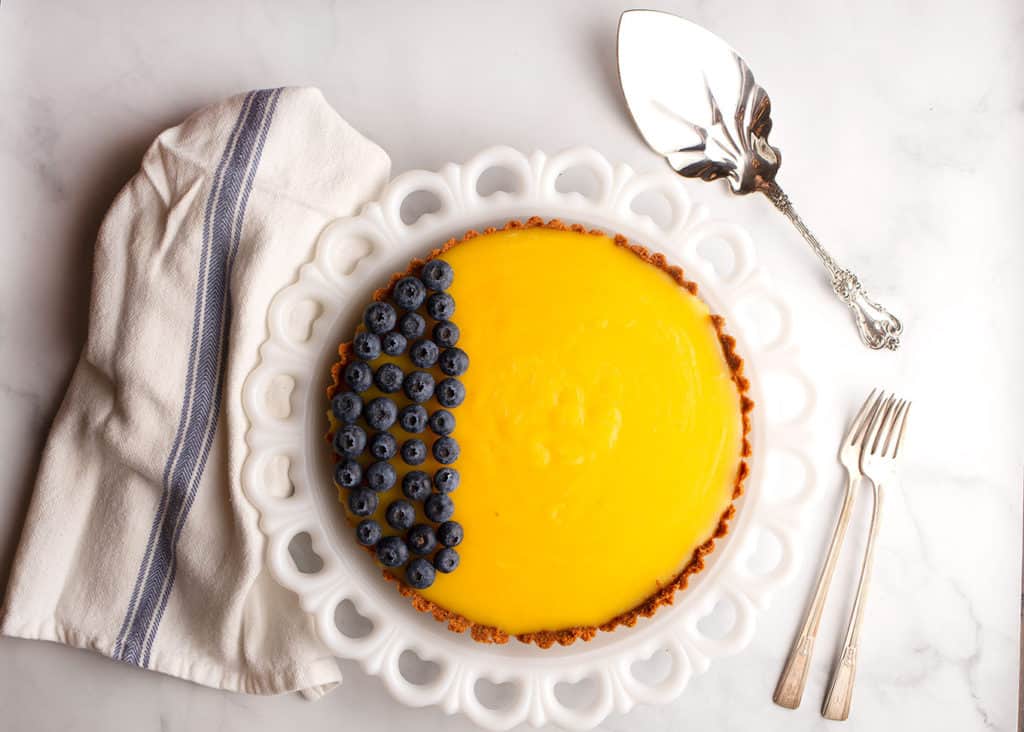
Serve it with berries and even a little whipping cream if you want!
Recipe
Lemon Tart in a Gingersnap Crust
Ingredients
FOR THE CRUST
- 1½ cups gingersnap cookies crushed
- 4 Tablespoons butter
FOR THE LEMON CURD FILLING
- 6 Tablespoons chilled unsalted butter cut into pieces
- 4 large egg yolks
- 1 ⅓ cups sugar
- ⅓ cup cornstarch
- ½ teaspoon salt
- 1 Tablespoon finely grated lemon zest
- ½ cup fresh lemon juice
Instructions
FOR THE CRUST
- Mix the crushed gingersnaps with the 4 Tablespoons of butter. I find it easiest to do this in the food processor just after I have crushed the cookies. It will look and feel like wet sand. Press it into a tart pan.
FOR THE FILLING
- Put 6 Tablespoons of butter in a medium bowl with a fine-mesh sieve over the bowl. In a small bowl, whisk the egg yolks.
- In a medium saucepan, whisk the sugar, cornstarch, salt and 1½ cups of cold water until smooth. Heat over medium-high, whisking constantly, until the mixture is thick and bubbling. Remove from the heat and gradually whisk about a third of the sugar mixture into the eggs to temper them, then whisk the tempered yolks with the rest of the sugar mixture. Add in the lemon zest and juice.
- Return the pan to the heat and reduce the heat to medium-low or medium. Cook, whisking constantly, until the mixture is very thick and bubbling gently, about 2 minutes.
- Immediately pour the mixture through the sieve into the bowl with butter, pressing it through with a rubber spatula. Stir until the butter is melted and the mixture is cool. Pour into the crust and cover pressing the wrap directly onto the surface. Chill until set, at least 8 hours.
- The pie is best enjoyed the day it is made, but I don't complain about leftovers! You'll just have to deal with some soggy crust.

Comments
No Comments