
Do you struggle with making pie crusts? Ever wonder how to make them flaky like Grandma's? Curious about the secrets? I don't know everything about pie crusts, I'm sure, but in this post on Pie Crust Basics, I'll share everything I know about how to be successful making pie crusts.
Traditional crust, sourdough crust, and gluten-free crust
First of all, I'll say that I have always loved making pie crusts. It is such a wonderful accomplishment when you take a bite and taste the flaky, buttery deliciousness. A traditional pie crust is amazing, but these days, in my kitchen, I make a sourdough pie crust.
Our pie crust journey and a Hip Hip Hooray for sourdough
A few years ago, my oldest daughter was diagnosed with a wheat allergy and a high gluten insensitivity. To say that our baking changed drastically is an understatement. There was a bit of "baker's block" for a long time, then we slowly started "baking from tiny, expensive bags of weird flours" (as my daughter says!) with varying degrees of success.
Our attempts with nut flour crusts were abysmal. The texture is just not right and I can't recommend pursuing that path for yet more reasons than the texture!
I've also made crusts with gluten-free 1:1 flour blends and those work out somewhat OK. Still not the same, but not bad either. I'll show one of those crusts at the bottom of this post where I also give some gluten-free pie crust basics.
In January of 2019, my daughter and I started working with sourdough.
In my daughter's words: "A few years ago, I learned that sourdough bread is digestible by even most Celiac patients. I was stunned, and pretty certain it wouldn't work for me. But gluten-free bread is of the devil, so I asked a friend if I could try a piece of her sourdough. And it worked. I was fine."
She literally had no reaction at all to eating that sourdough bread! No lethargy, no skin reaction, no irritability of any kind. We were stunned, but grateful. I could go on about the benefits of sourdough, WHY she can now tolerate it, gut health, etc ... but that would be a giant parenthetical paragraph!
Since that time, we've made ALL.OF.THE.EVERYTHING out of sourdough! Yes, including pie crusts ... and Mama is happy with her pie crusts again!
Basics #1: temperature
Make sure your butter is super cold. Straight from the fridge. I like to cut bits of it off to work with and keep the rest in the fridge just to ensure that it stays maximally cold.
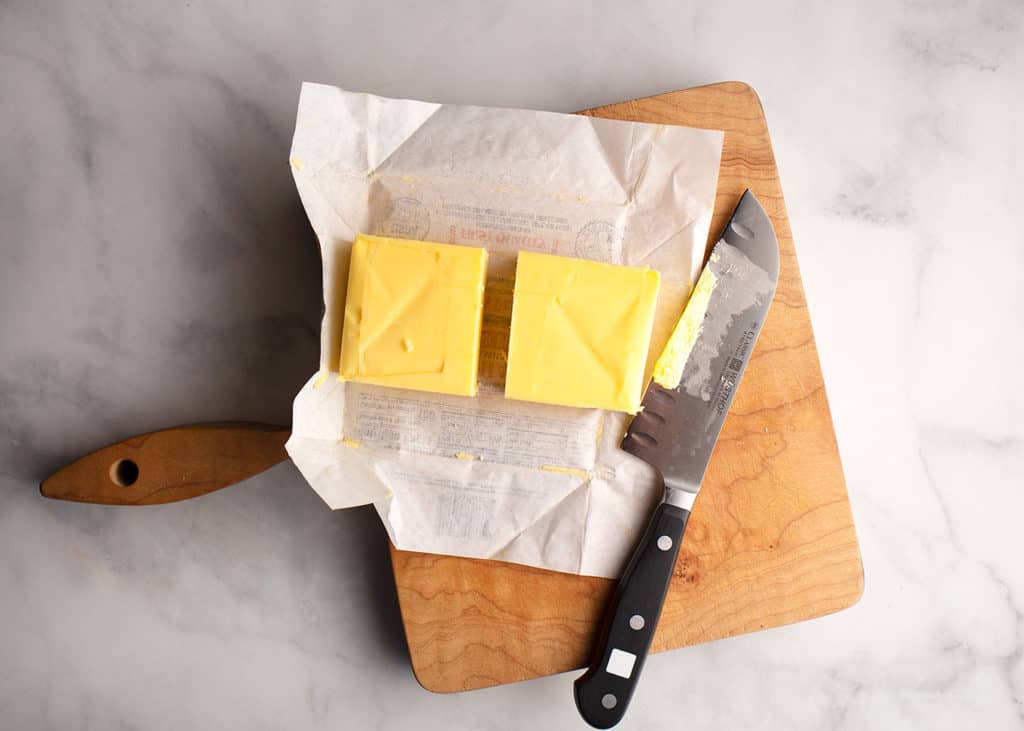
This might be a great time to mention that I don't approve of using shortening in pie crusts. Shortening isn't healthy in the least and you'll sure miss the flavor of butter! Furthermore, grass fed butter is the only butter I use. There are several brands available everywhere, but if you can find a local brand made at a local dairy, that's so much better. Especially now when local, small businesses need all the support they can get!
Basics #2: grating the butter
Several years ago, I got tired of "cutting the butter" into the flour using the common method of using a fork or pastry cutter. I was always frustrated trying to get the pieces of butter as small as they needed to be -- especially when the butter is so cold! So I pulled out my grater and went to town!
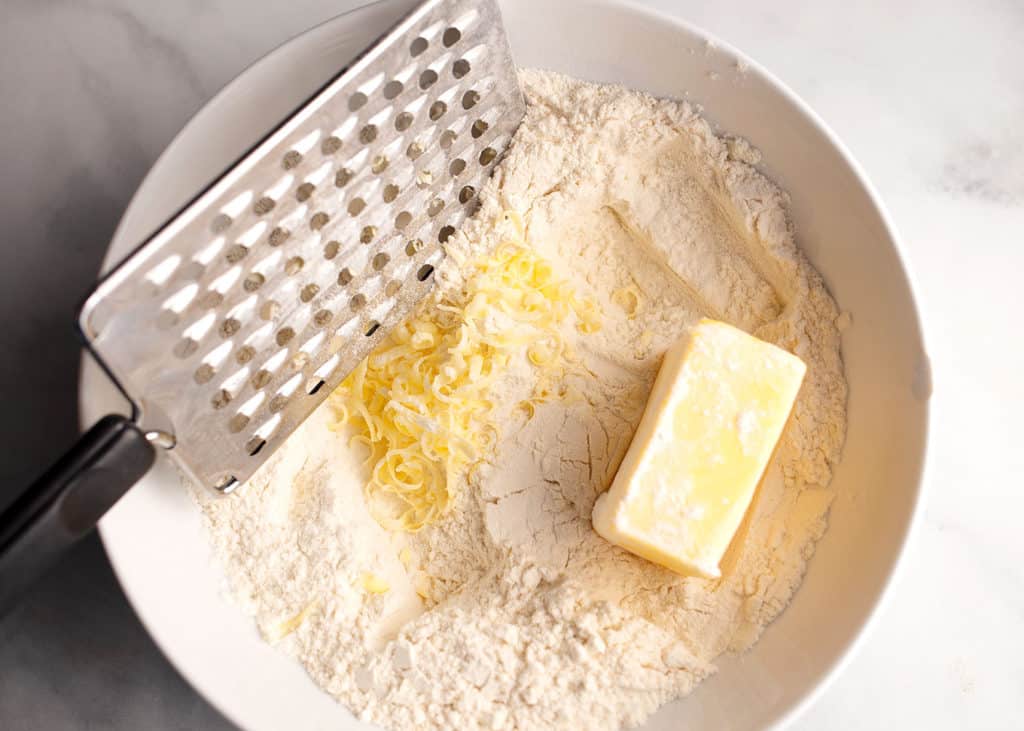
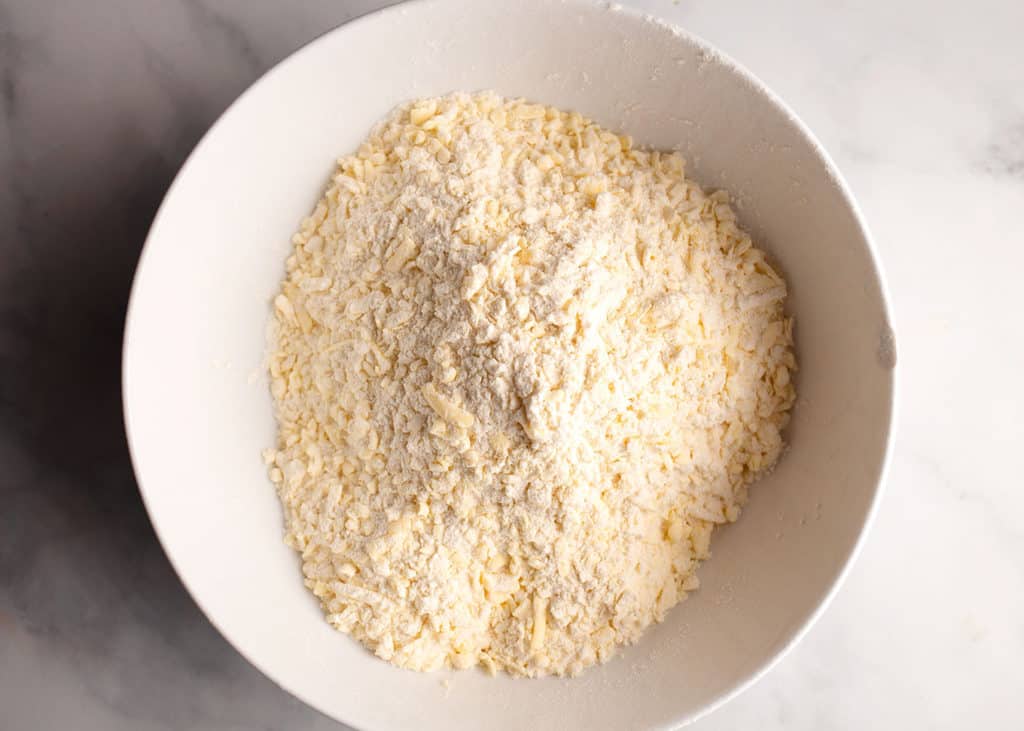
Every few grates or so, I toss the grated butter with the flour so that each piece of butter gets coated. It keeps it from clumping together and distributes it better throughout the crust ... which is how the flakiness happens in the crust!
Basics #3: ice water
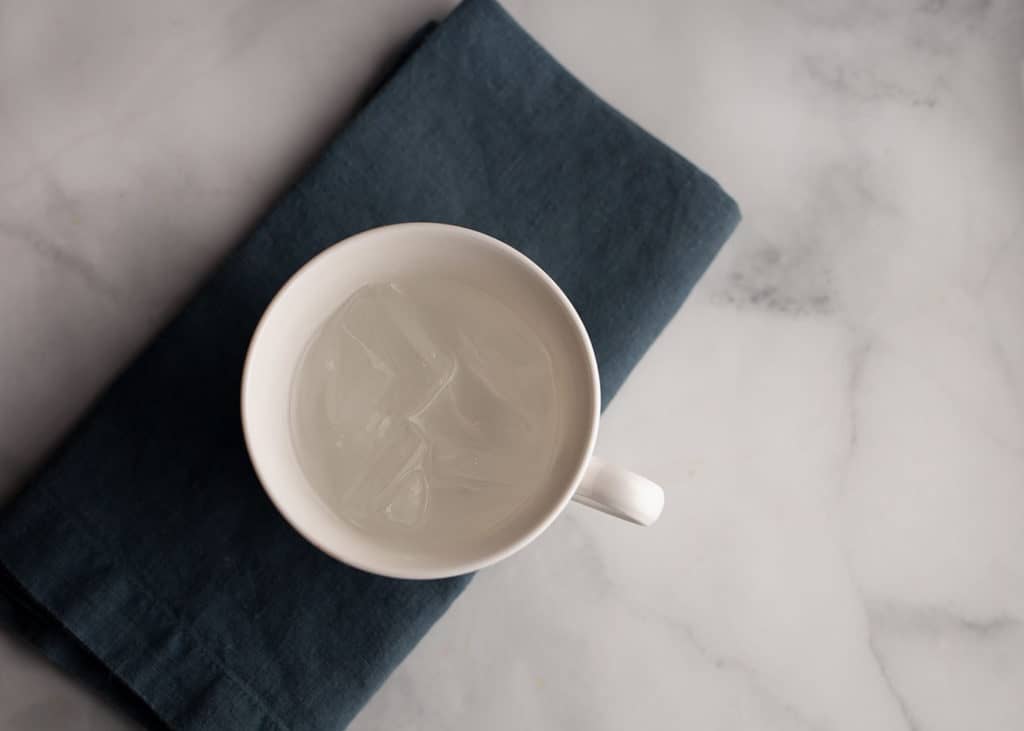
Use ice cold water. My mom always put some water in a cup with ice cubes just to ensure that it was really cold and stayed that way. I find that I always use a cup, too. Although it's not highly necessary, I also use apple cider vinegar to help keep it tender. That, along with the overnight fermentation, helps break down the gluten in the sourdough crust, keeping it easily digestible.
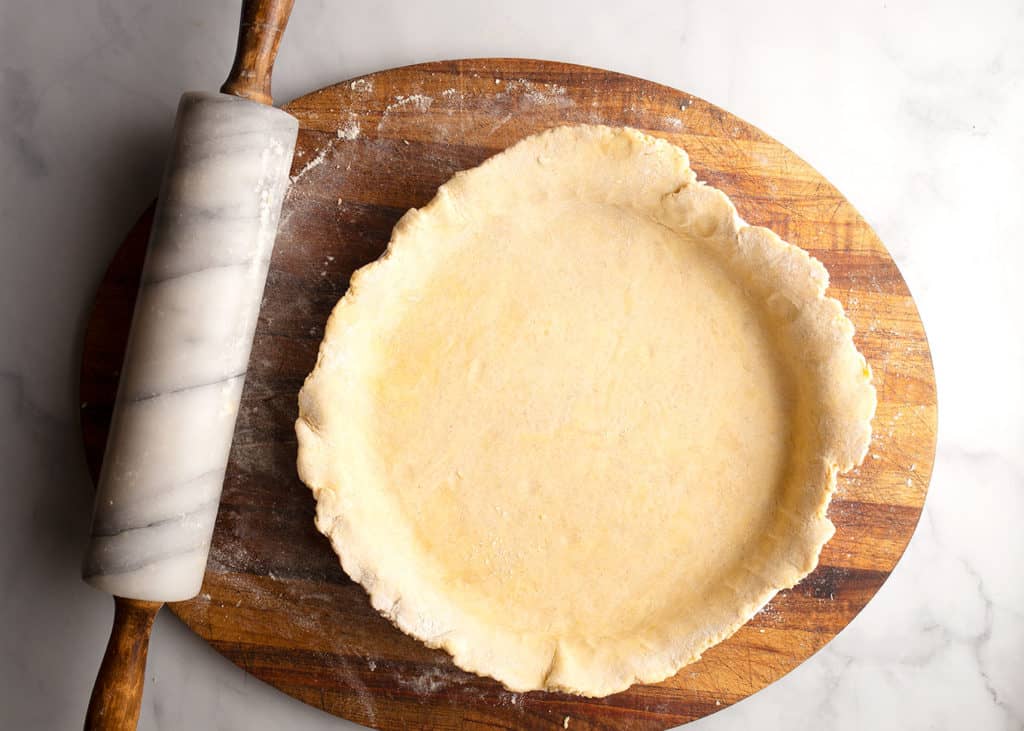
Basics #4: floured surface & rolling technique
When rolling out your pie crust, you absolutely need a floured surface. I like using a larger cutting board to contain some of the floury mess. Because of the wheat allergy issues in our family and because I make the sourdough crust, I use brown rice flour (or 1:1 gluten-free flour blend) rather than regular all-purpose flour because there's no more time for fermentation. Roll in one direction, then turn the dough a quarter turn and roll again. Keeping turning in quarter turns as you shape the round, being sure to add a little more flour as needed to keep it from sticking to the board or to your rolling pin.

Basics #5: handling the dough
Handle the dough as little as possible. The more it is handled and rolled, the tougher it becomes. Less is more, as it is in many cases, except with gluten-free dough. I talk more about this in the gluten-free section below.
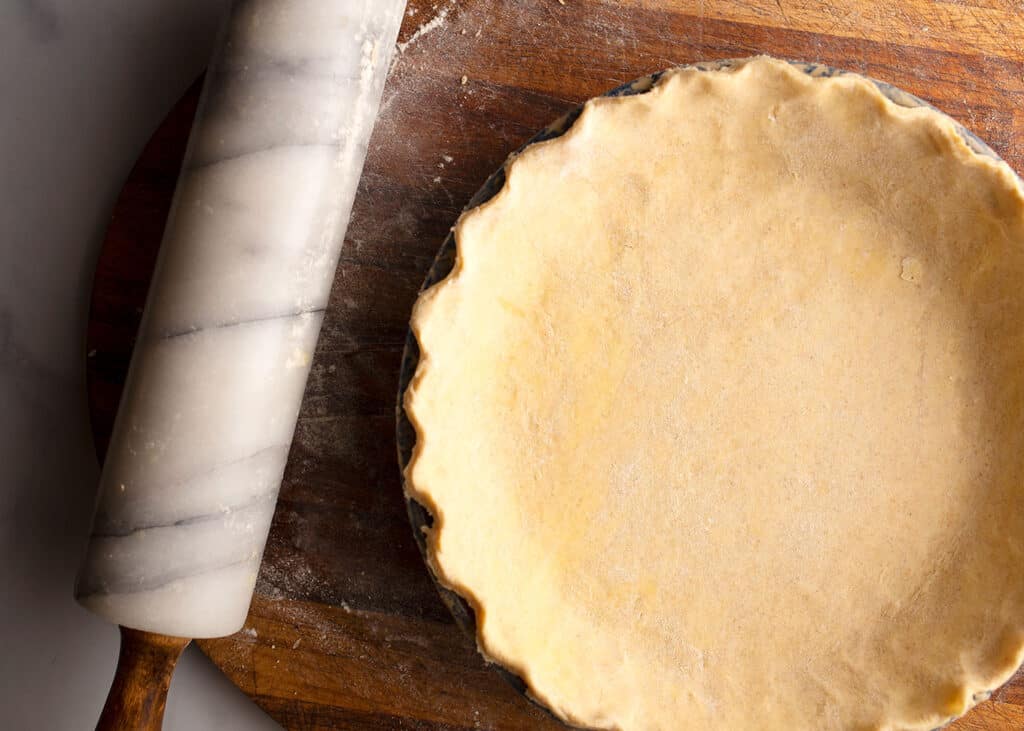
Basics #6: crimping the edges
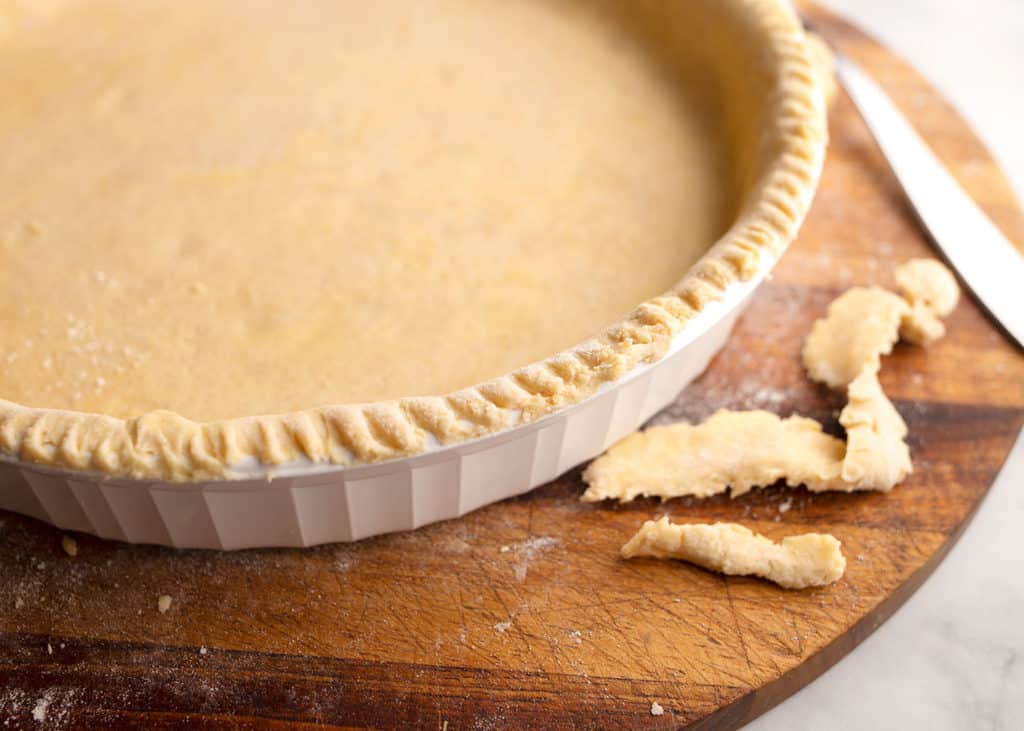
Get as fancy as you want on the edges and with decorating! Two basic methods are a fork crimp and a fluted edge.
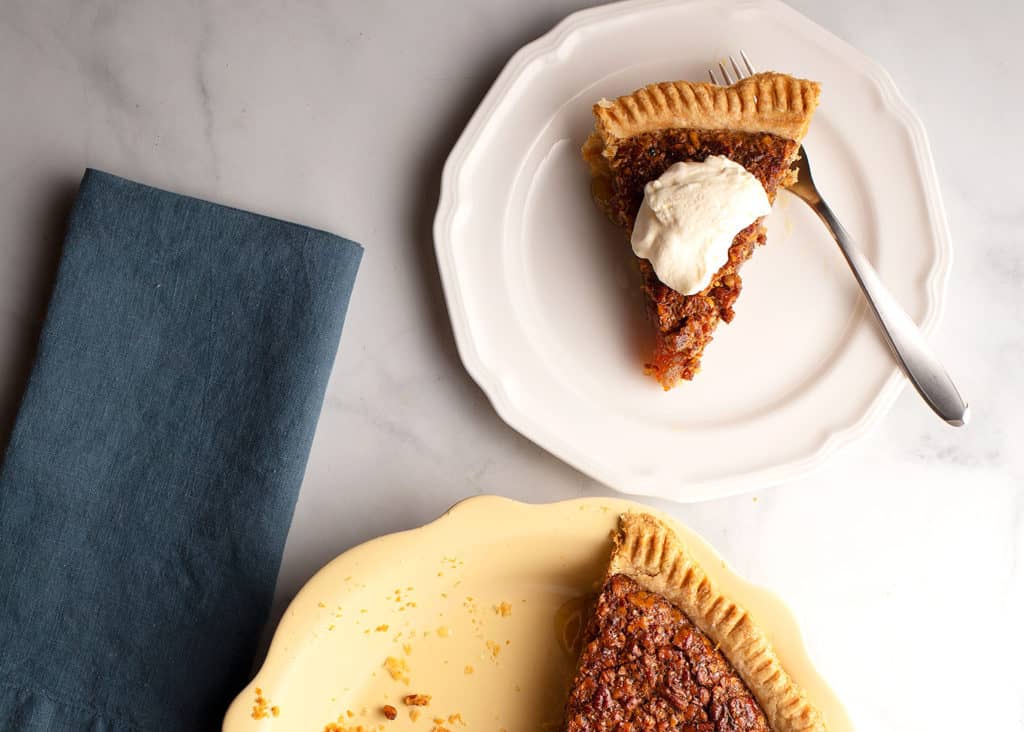
Make the fork crimp (shown above) by flouring the tines of a fork, then pressing it into the edge of the pie dish. You then take the fork and go around the edge of the dish to remove the excess crust. I usually use this method when making my Pecan Pie.
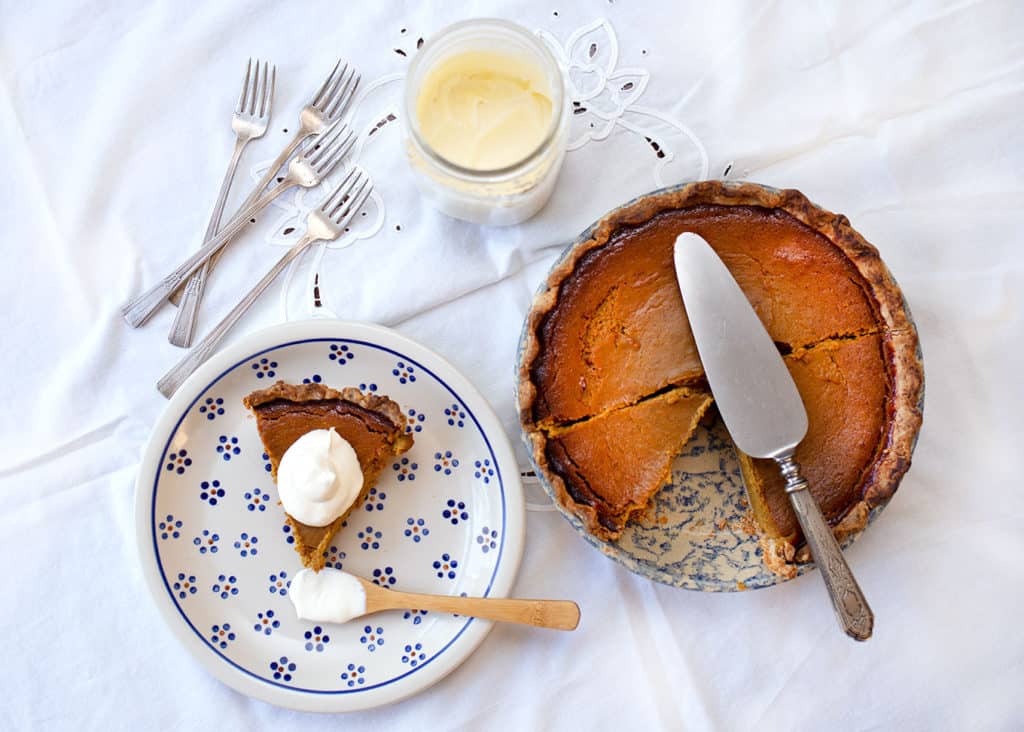
Make the fluted crimp by first bending your fingers. I like to use my knuckles rather than my fingertips so that I don't potentially leave nail marks. Then insert the second knuckle of the forefinger on one hand between the second knuckles of both the forefinger and middle finger of the other ... with the crust in between. Clear as mud?
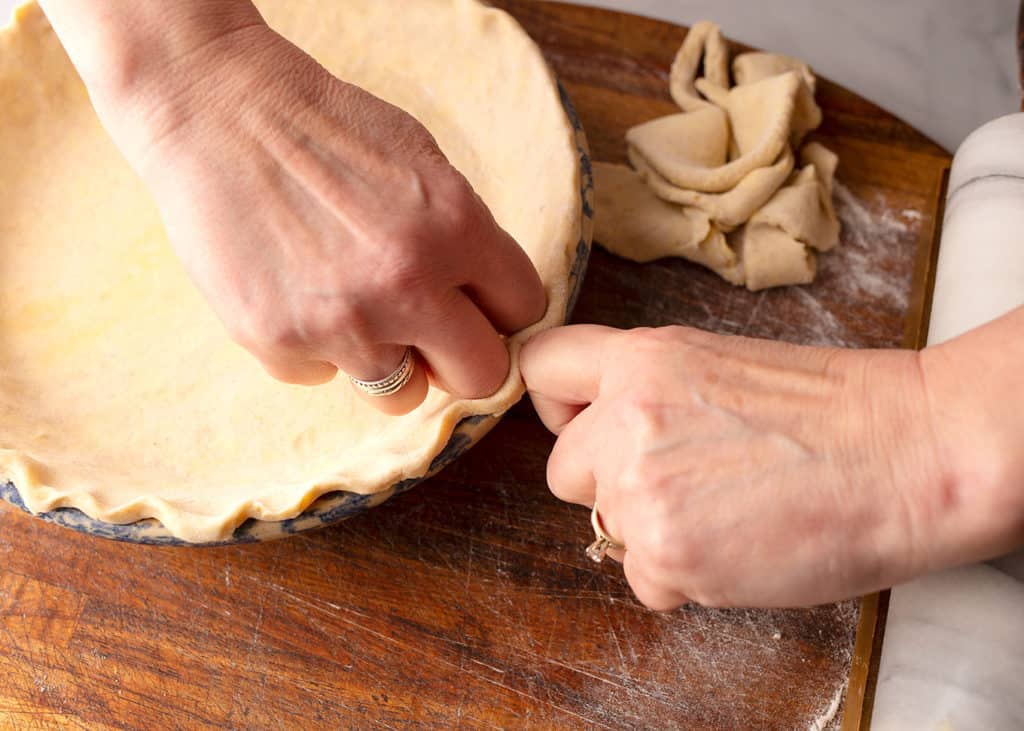
I usually use this method when making my Real Food Pumpkin Pie.
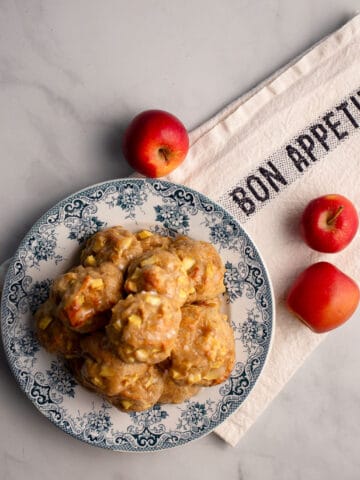
Beyond this, feel free to use small cookie cutters to cut leaves, apples, or whatever shape you like! Also, try using a sharp knife to cut pretty designs in the top of a two-crust pie.

Gluten-free pie crust basics
I do not like to make gluten free crusts. There. I've said it and I won't retract it. That said, I do, in fact, make them. They are really tricky because they can easily break and crack, even if you've used enough butter and water. Unlike regular pie dough, it can handle a bit more handling and actually behaves a little better when it's been worked some.
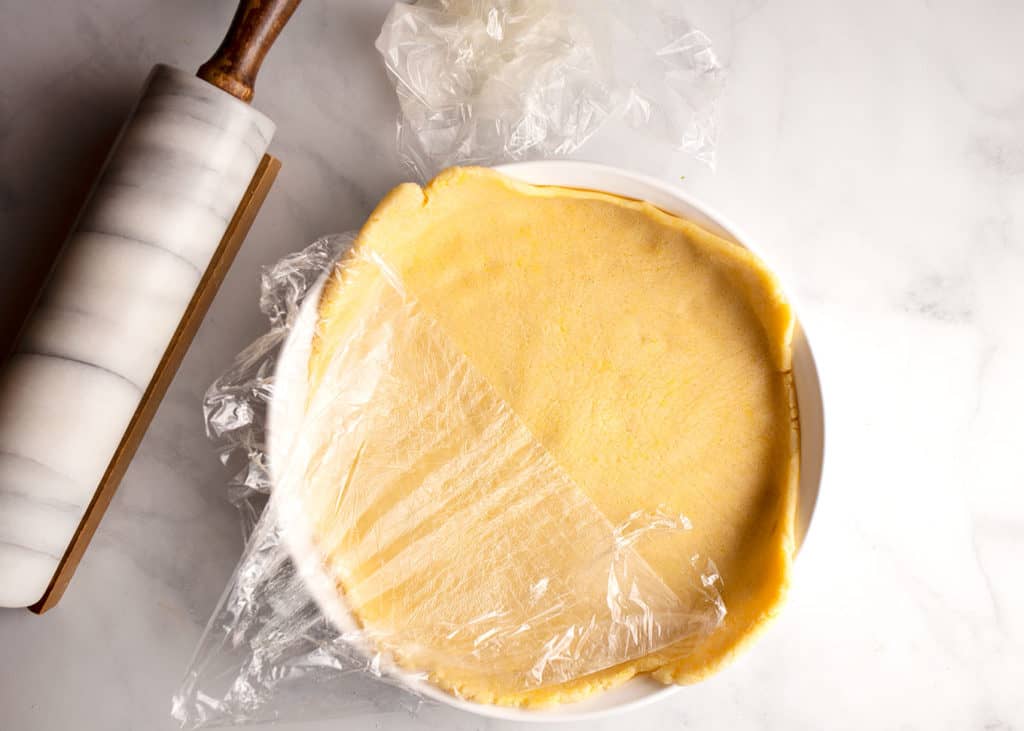
One thing I've found that helps when rolling gluten-free dough out is to put the dough between two pieces of plastic film or parchment paper. I prefer the plastic because I can see the dough. Use the same method to roll it out as you would a traditional or sourdough pie crust. Roll one direction, turn it a quarter turn, roll again, and keep repeating until you've got the size and shape you want. With using the plastic, you might have to peel it off and re-situate it because it will wrinkle up.
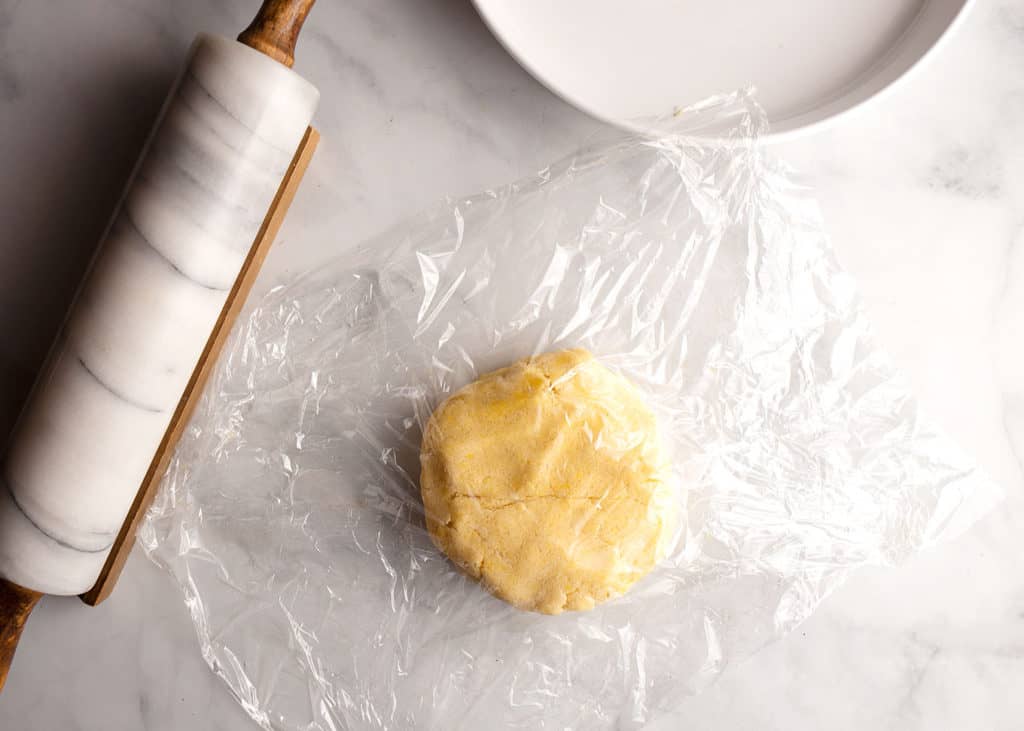
Once I've gotten it rolled out, I peel one piece of film off, and transfer the dough to the pie dish before removing the other one. This is the most successful way that I've found to get a gluten free crust into a pie dish. If you have more tips, please leave a comment so we can all learn from you!
After the crust is safely in the dish, I press it out even more with the heel of my hand then patch it up, if needed.
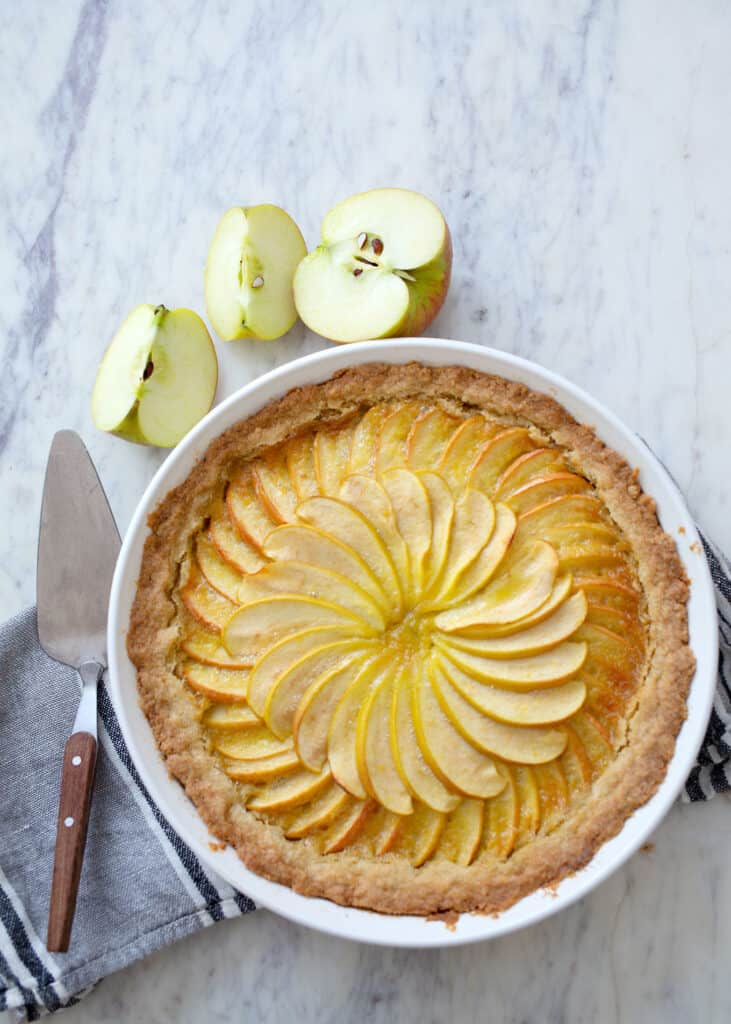
Hopefully, some of these tips will work for you and help you to create some beautiful pies!
Recipe

Pie Crust Basics - Traditional Pie Crust + GF (with sourdough option)
Ingredients
- 295 grams all-purpose flour 2.5 cups (can also use 1:1 gluten-free flour blend - see notes)
- 1 teaspoon sea salt
- 227 grams European style butter 2 sticks
- 2 Tablespoons apple cider vinegar
- ice cold water
IF you are making a sourdough crust:
- 1 cup ripe sourdough starter chilled in the fridge for one hour
Instructions
- Mix flour and salt together in a large bowl.
- Using a cheese grater, grate the butter into the flour and salt mixture. After every little bit of grating, toss the grated butter with the flour to coat each piece. You'll end up with some larger pieces and some smaller, which is exactly what you want in order to achieve a flaky crust.
- Add the apple cider vinegar and a little bit (like a tablespoon) of cold water. (If you are making a sourdough pie crust, also add the ripe starter.) Start working it lightly, adding water, a teaspoon at a time, to make the dough come together and not be crumbly.
- Form into one cohesive dough, then divide in two. If you are not making the sourdough crust, you can go ahead and roll the crusts out to use. You can chill them, if you wish, and roll out later, but this is a lesson in frustration for me! You can also freeze the crusts, either before you roll them out or after you've put them in the pie plate
- If you ARE making the sourdough crust, you must wrap them and chill overnight in order to get the health benefits of the sourdough. When you're ready to roll them, take them out of the fridge ½-1 hour before, letting them come to room temperature. Roll them, use right away, or freeze as discussed above.
- If a recipe calls for a parbaked crust (one that is slightly baked before it is filled), poke the crust with a fork in several places to allow steam to escape. Cover with parchment paper, fill with dried beans, dry rice, or ceramic pie weights, then bake for 15-20 minutes, or according to your pie recipe instructions.
Nicky Jarvis
Yes! Pie crusts can be tricky, and I’d love to know the secrets to getting them perfectly flaky. Excited to read your tips!
Tammy Circeo
The best tip is having the butter super cold and grating it in all the while tossing the grated butter with the flour. Best of luck to you!